
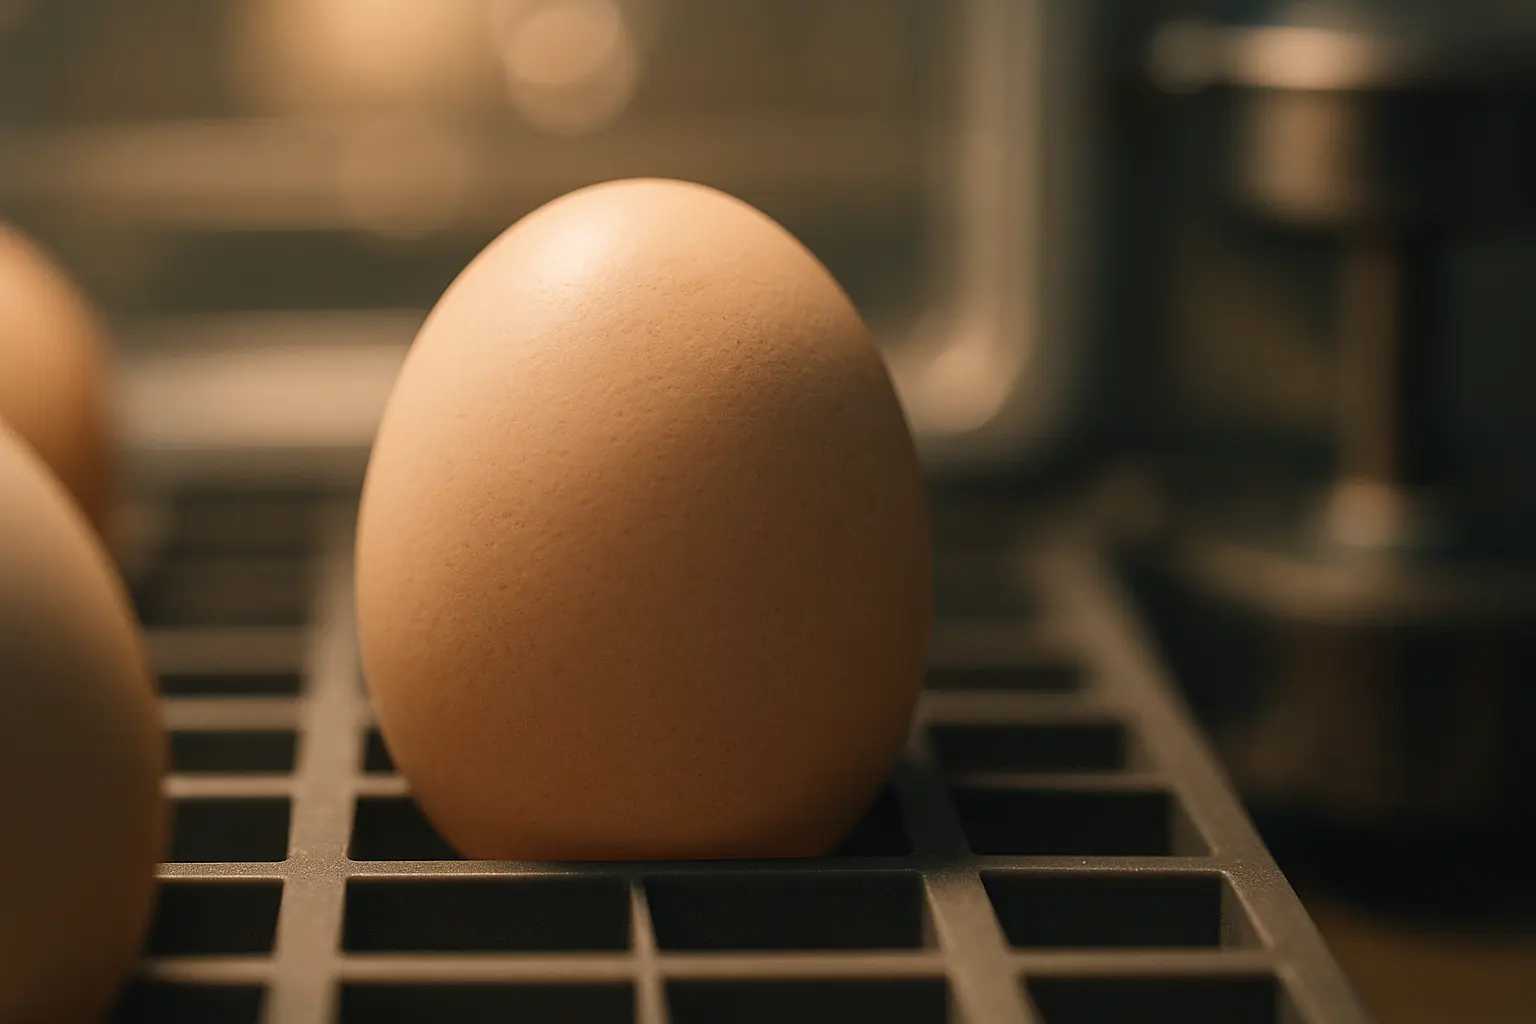
As we navigate the world of poultry reproduction, it becomes evident how fundamental incubation is in the journey from egg to chick. This age-old practice, essential for both novice and professional poultry enthusiasts, has evolved over the years, yet the essentials remain grounded in tradition and science.
The journey from egg to chick is one of nature’s most awe-inspiring transformations. We often view this process superficially, without appreciating the intricate details and meticulous care required at every step. To achieve success in hatching, understanding the science of incubation and the management of the environment is crucial. Over the next few sections, we will uncover the profound world of poultry reproduction, sharing insights that will enhance your success rate in poultry production.
Understanding the Incubation Process
Incubation is a meticulous process that mimics the natural conditions hens provide. It begins the moment an egg is placed inside an incubator – a mechanical brooding device that controls various factors essential for hatching. The incubator replaces the warmth and care of a hen, ensuring a constant environment is maintained.
Temperature, humidity, and air circulation are the triad of factors that we must vigilantly monitor. The incubator‘s temperature should remain constant at around 99.5°F (37.5°C). This consistency guarantees that the egg develops properly, as extreme fluctuations can hinder the growth of the embryo within.
Equally crucial is the humidity level, which facilitates the egg’s moisture retention. Ideally, humidity should be around 40-50% during the first 18 days, increasing to 65-75% during the final days before the chick emerges. This increment in humidity helps soften the egg shell, making it easier for the chick to break through.
Air circulation inside the incubator is another critical element. Proper air flow ensures that the embryo receives enough oxygen, while carbon dioxide is expelled, maintaining a healthy environment. By understanding these factors, we can replicate the natural conditions a hen provides, paving the way for successful hatching.
Management and Monitoring Techniques
Managing an incubator effectively requires a blend of vigilance and technical know-how. Each day in the incubation process demands thoughtful observation and precise adjustments to ensure optimal conditions for the developing embryos.
Initiate by marking the eggs with an “X” and “O” on opposite sides, facilitating consistent turning. This manual rotation should occur at least three times daily, preventing the embryo from sticking to the shell’s walls. In some modern incubators, this process is automated, yet understanding its importance is crucial for any hatchery enthusiast.
Daily monitoring of temperature and humidity levels is essential. Small thermometers and hygrometers can be placed inside the incubator to provide real-time data. Correct any deviations swiftly to avoid adverse effects on the embryo’s development. A vigilant eye guarantees a seamless hatch.
As we reach the final days, known as “lockdown,” refrain from opening the incubator. This period, typically starting on day 18, is critical as the chick positions itself for emergence. The increase in humidity during this stage softens the shell, facilitating the hatch.
By adopting these management techniques, we enhance the likelihood of a successful hatch, ensuring every chick is given the best start in life. Let’s not forget, each day in this journey is another step toward new life.
Understanding the Role of a Broody Hen
In traditional practices, the hen played a pivotal role in the incubation and hatching process. The instinctual behavior of a broody hen is a natural marvel, and understanding her role offers invaluable insights into the management of modern incubators.
A broody hen maintains her eggs at a constant temperature by instinctively adjusting her body position, ensuring even heat distribution. This innate behavior is crucial for maintaining embryo viability, as even minor temperature deviations can impede development, leading to unsuccessful hatches.
Furthermore, the hen is adept at regulating humidity around her clutch. By meticulously turning the eggs and maintaining a humid environment beneath her, she ensures optimal conditions for the embryo’s growth. This natural process of brooding is mirrored in modern incubators, where temperature and humidity management are critical.
We should not overlook the social aspect of a hen’s behavior. By clucking softly during the final days, she communicates with her unborn chicks, preparing them for life beyond the shell. This interaction is vital in ensuring a smooth hatch, as the chicks respond to her cues, synchronizing their emergence.
By appreciating the intrinsic wisdom of a broody hen, we can better replicate her environment and ensure successful poultry production. Nature’s blueprint has guided us for millennia, and it continues to be a cornerstone of our hatchery practices.
The Science Behind Successful Hatching
Successful hatching is both an art and science, rooted in understanding the complex biology at play within each egg. As we delve into this intricate world, we uncover the marvels of embryonic development and the scientific principles that govern it.
An egg is not just a simple shell housing a potential chick. Within, lies a microcosm of life, meticulously organized. Fertilization initiates the journey; a single egg, when kept at optimal temperature, begins its transformation. The embryo develops through stages, each marked by significant milestones.
Temperature plays a pivotal role in determining the speed and success of this development. A stable temperature ensures steady growth, while fluctuations can cause embryonic malformations or even cessation of development. Professional observation of temperature levels is non-negotiable for successful hatching.
While temperature is vital, humidity is the unsung hero of the hatching process. It influences the rate of moisture loss through the shell and the size of the air cell. As the embryo grows, the air cell expands, allowing the chick to breathe before it breaks through the shell. Balancing humidity ensures this crucial step occurs seamlessly.
Understanding these scientific principles elevates our hatchery practices. By applying this knowledge, we ensure that each egg entrusted to our care has the best chance of yielding a vigorous and healthy chick. Science, when leveraged correctly, leads to hatching success, mirroring nature’s unparalleled efficiency.
The journey from egg to chick is one of life’s miracles, a process that embodies both the simplicity and complexity of nature. As we embrace the intricacies of poultry incubation, we recognize the harmony between tradition and innovation, a dance between nature’s wisdom and human ingenuity.
By understanding each facet of this journey — the role of the incubator, the influence of temperature and humidity, and the natural instincts of the broody hen — we appreciate the subtleties that contribute to successful hatching. In doing so, we become active participants in this ancient cycle of life.
Let us continue to refine our practices, guided by the knowledge we gather and the experiences we cherish. Together, we can foster a future where poultry production is both sustainable and respectful of the natural order.
As we strive to perfect our craft, let’s remember to balance the art of hatching with the science of life. Every day, every egg, and every chick is a testament to the enduring legacy of poultry reproduction.
FAQ
What are the optimal conditions for incubating poultry eggs?
Incubating poultry eggs requires careful control of temperature, humidity, and ventilation. The ideal temperature is around 99.5°F (37.5°C) with a relative humidity of 50-55% during the first 18 days and increasing it to 65% during the last days before hatching. Proper ventilation is also crucial to ensure fresh air exchange.
How can I determine the fertility of the eggs I plan to incubate?
To assess egg fertility, candling is a common practice. This involves holding the egg up to a bright light source to see inside the shell. Fertile eggs will show signs of embryo development, such as blood vessels, after a few days of incubation, whereas infertile eggs will remain clear.
Why is egg turning important during incubation, and how often should it be done?
Egg turning is essential to prevent the embryo from sticking to the shell and to promote even heat distribution. It is recommended to turn the eggs at least three to five times a day until day 18 of incubation, after which turning can be stopped to allow the chick to position itself for hatching.
Are there specific indicators to watch for that suggest an egg might not hatch successfully?
Yes, several signs can suggest potential issues with hatching. Eggs that develop cracks, emit unpleasant odors, or show no signs of development during candling may not hatch successfully. Additionally, eggs that fail to pip (break through the shell) after 21 days might indicate problems.
What should I do after the chicks have hatched in the incubator?
Once the chicks hatch, it’s important to leave them in the incubator until they are dry and fluffy, usually within 24 hours. Afterward, transfer them to a brooder with appropriate temperature settings, food, and water to ensure they stay warm and healthy.