
How to Succeed with Artificial Egg Incubation: Steps and Mistakes to Avoid
In a world where technology increasingly merges with everyday tasks, artificial egg incubation stands out as an innovative blend of tradition and modernity. Imagine a world where you can hatch chicks without the presence of a mother hen, all with the aid of a trusty incubator at your side. Today, we will delve into the essential steps and common pitfalls associated with artificial incubation to ensure you hatch healthy and vibrant chicks every time. Join us as we explore the intricacies of this fascinating process, offering you tips that are both revolutionary and grounded in practicality.
1. Mastering the Basics of Incubation
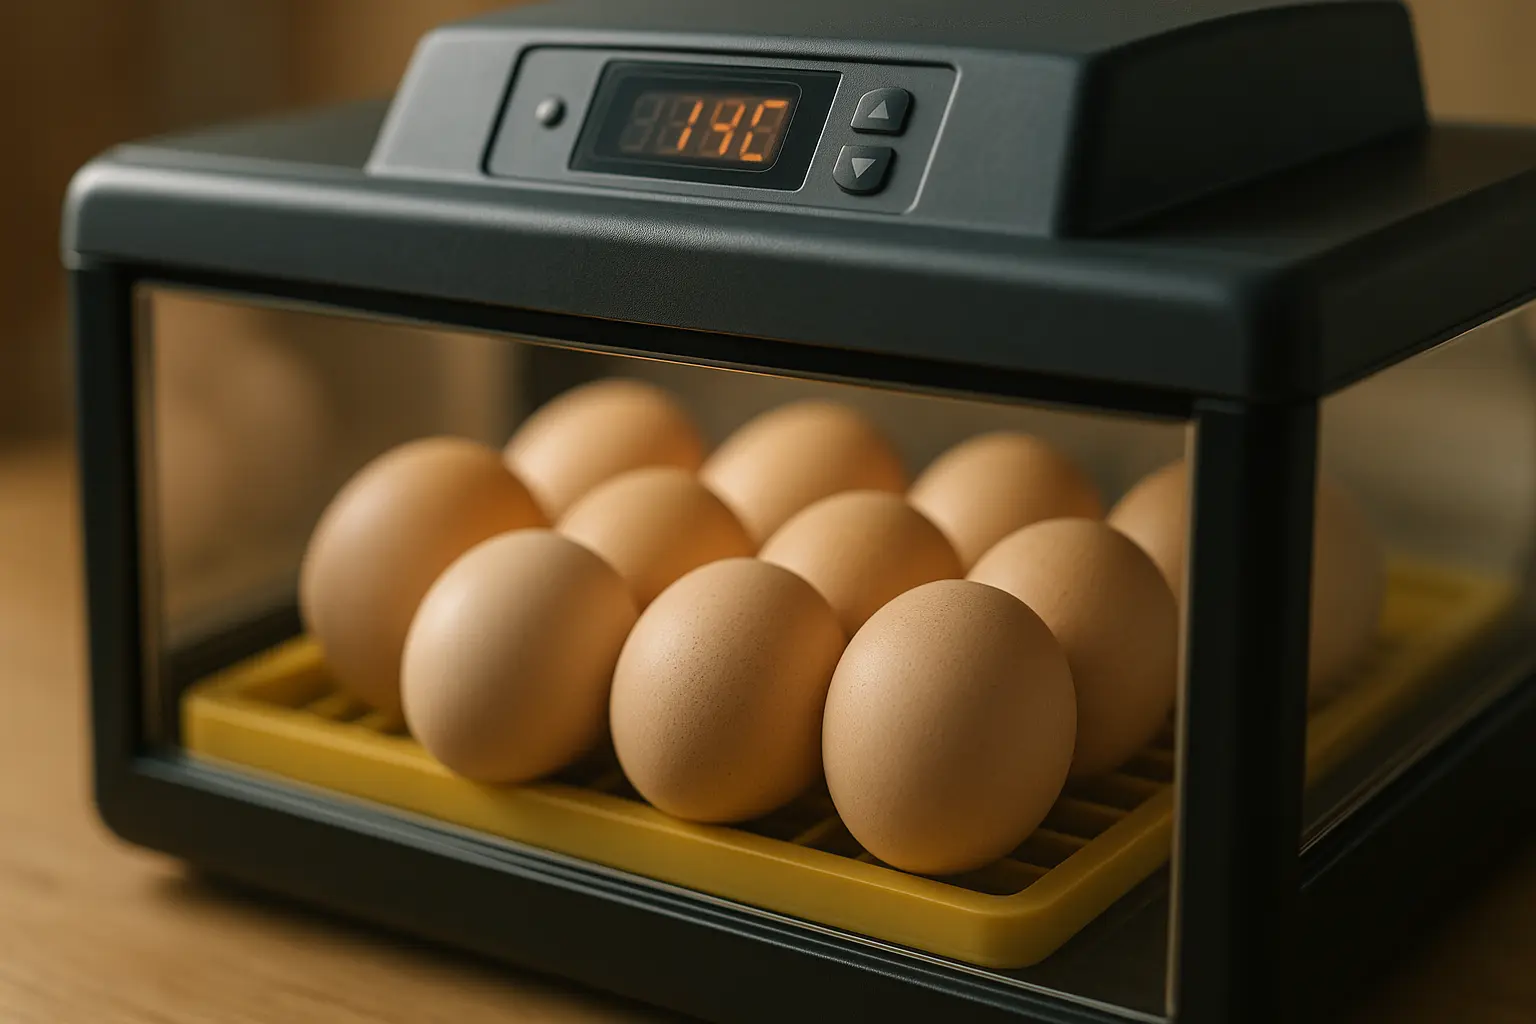
Understanding the foundational elements of egg incubation is crucial for success. When you place eggs into an incubator, you are replicating the natural process a hen would provide, creating an environment conducive to the development of an embryo. Temperature, humidity, and air circulation are the three pillars of a successful incubation process.
Temperature is arguably the most critical factor. Maintaining a steady 99.5°F is ideal for most poultry eggs. A deviation of just a few degrees can disrupt development, leading to weak or unhatched chicks. Invest in a reliable thermometer to ensure precision.
Humidity plays an equally important role in ensuring the eggs lose moisture at the correct rate. For most of the incubation period, aim for a humidity level of around 45%. As hatching day approaches, increase this to 65-70% to facilitate the hatching process. A hygrometer will aid in monitoring these levels.
Air circulation ensures that fresh air reaches the eggs. Most modern incubators come equipped with fans that mimic the natural airflow a hen provides. This prevents the development of “dead air” spaces, which can suffocate an embryo.
By centering your efforts on these core elements and regularly checking your incubator’s settings, you’re laying the groundwork for a successful hatch. Trust in your diligence, and the results will likely speak for themselves.
2. Choosing the Right Incubator
Selecting the right incubator can be daunting, but it is a cornerstone of successful artificial incubation. With countless models on the market, understanding what features to look for makes all the difference.
Size Matters: Depending on your goals, the size of your incubator is pivotal. Small, countertop models are perfect for beginners or those with limited space, typically accommodating fewer eggs. Larger models suit those looking to hatch on a commercial scale.
Automatic vs. Manual: Automatic incubators turn the eggs for you, eliminating human error and ensuring even heat distribution. Manual models, while more affordable, require vigilant monitoring and turning of the eggs at least three times a day.
Built-in Controls: Look for incubators with built-in thermostats and hygrometers. These features simplify the process, allowing you to set and forget (with periodic checks, of course).
Egg Types: Some incubators are tailored for specific poultry. Ensure your choice is compatible with the eggs you plan to hatch, whether chicken, duck, or quail.
Your incubator should suit your lifestyle, budget, and hatchery goals. By aligning these criteria with the incubator’s features, you’re not only investing in equipment but in a successful hatching experience.
3. Preparing for the Incubation Period
Once you’ve selected an incubator, preparation is key. Start by cleaning and sterilizing your equipment. This step prevents bacteria and mold from compromising the environment you’re creating for your eggs.
Egg Selection: Choose fresh, fertilized eggs. Clear signs of damage or unusual shapes can hinder the development process. Consistency is crucial, as uneven shell thickness can lead to uneven temperature and moisture absorption.
Pre-Incubation: Allow the eggs to come to room temperature before placing them in the incubator. This prevents condensation, which can impact humidity levels. Gather all your monitoring tools, ensuring they’re calibrated and functional.
Marking Eggs: If you’re manually turning your eggs, a simple pencil mark on one side helps track which have been turned. This step keeps the embryo positioned correctly, crucial for development.
Setting the Stage: Run your incubator for a day or two before introduction of the eggs. This ensures it maintains the correct conditions and allows for any necessary adjustments. Once confident, place the eggs inside, and let the incubation period begin.
Preparation might seem tedious, but it is a small price to pay for healthy, vibrant chicks. Approach it with care, and the payoff will be undeniable.
4. Monitoring the Incubation Process
The incubation period is a delicate balance of observation and restraint. While your instincts might urge you to check constantly, moderation and careful monitoring are key.
Daily Checks: Consistently monitor temperature and humidity levels. While modern incubators are reliable, small fluctuations can occur. Quick corrections are better than prolonged exposure to unsuitable conditions.
Candling: Around day 7 and day 14, you have the opportunity to candle the eggs. This involves shining a light through the shell to observe embryo development. Healthy embryos will show visible veins. Remove any clear eggs or those showing no signs of growth.
Turning Techniques: If manually turning, continue to do so until day 18. At this point, cease turning and increase humidity to prepare for the impending hatch.
Be Patient: The final days demand patience. As hatching day nears, resist the urge to interfere. Chicks will naturally pip and work their way out of the shell when ready. Disturbing them can be detrimental.
Monitoring effectively creates an environment of trust between you and the natural instincts of the developing chick. Trust the process and your prepared environment, and success will soon follow.
5. Hatching Day and Beyond
Hatching day is both thrilling and nerve-wracking. As the culmination of weeks of careful preparation and monitoring, the results are almost in sight.
The Final Countdown: As day 21 approaches, you may notice faint peeping sounds and small cracks on the shell. These are signs that the chicks are getting ready to emerge.
Do Not Open the Incubator: During the hatching process, maintain high humidity to help chicks escape their shells. Opening the incubator disrupts this balance, potentially leading to “shrink-wrapping,” where the inner membrane dries and traps the chick.
Patience is Key: Some chicks may take hours to fully hatch. It’s crucial to give them time, as rushing to assist can sometimes do more harm than good.
Post-Hatch Care: Once chicks are fully emerged and dry, move them to a brooder equipped with a heat source, water, and chick starter feed. This transition ensures continued growth and development outside the incubator.
Reflect and Learn: After your hatch is complete, take time to reflect on the process. What went well? What could be improved? This reflection is invaluable for future endeavors.
The journey from egg to chick is a unique blend of science and nature. Embrace the learning curve, and each hatch will be more successful than the last.
Embarking on the journey of artificial egg incubation offers a profound connection to the cycle of life. Through mastering the basics, selecting the right incubator, and carefully monitoring each stage, you become an integral part of a remarkable process. Beyond the technicalities lies a blend of passion and precision that leads to the ultimate reward: the joyful emergence of healthy chicks. So, whether you’re hatching a handful or hundreds, remember, each egg holds the promise of life, and with your care, that promise can flourish.
FAQ
What is the ideal temperature for incubating eggs artificially?
The optimal temperature for most bird eggs is around 99.5°F (37.5°C). Maintaining this temperature is crucial for proper embryo development.
How should eggs be positioned in the incubator?
Eggs should be placed with the pointed end facing slightly downward to allow the air cell to remain at the top, promoting proper development.
Why is humidity important during the incubation process?
Proper humidity ensures that the egg loses the right amount of moisture. Generally, a relative humidity of 40-50% is ideal for the first 18 days, increasing to 65-75% for the final days before hatching.
How often should eggs be turned during incubation?
Eggs should be turned at least three to five times a day during the first 18 days. This prevents the embryo from sticking to the shell and promotes uniform development.
What are common mistakes to avoid when incubating eggs?
Common errors include failing to maintain consistent temperature and humidity, not turning eggs regularly, and overcrowding the incubator, which can lead to poor air circulation and hinder hatching success.